

Crumpets
Three words for you: Hot. Butter. Sponge.

There are only two reasons in the world a person would make their own crumpets. First, that like alchemists of old, they are in maniacal pursuit of the bottomless flour-yeast-temperature-time mystery. Or second, they can’t get their hands on a fresh pack of Warburtons.
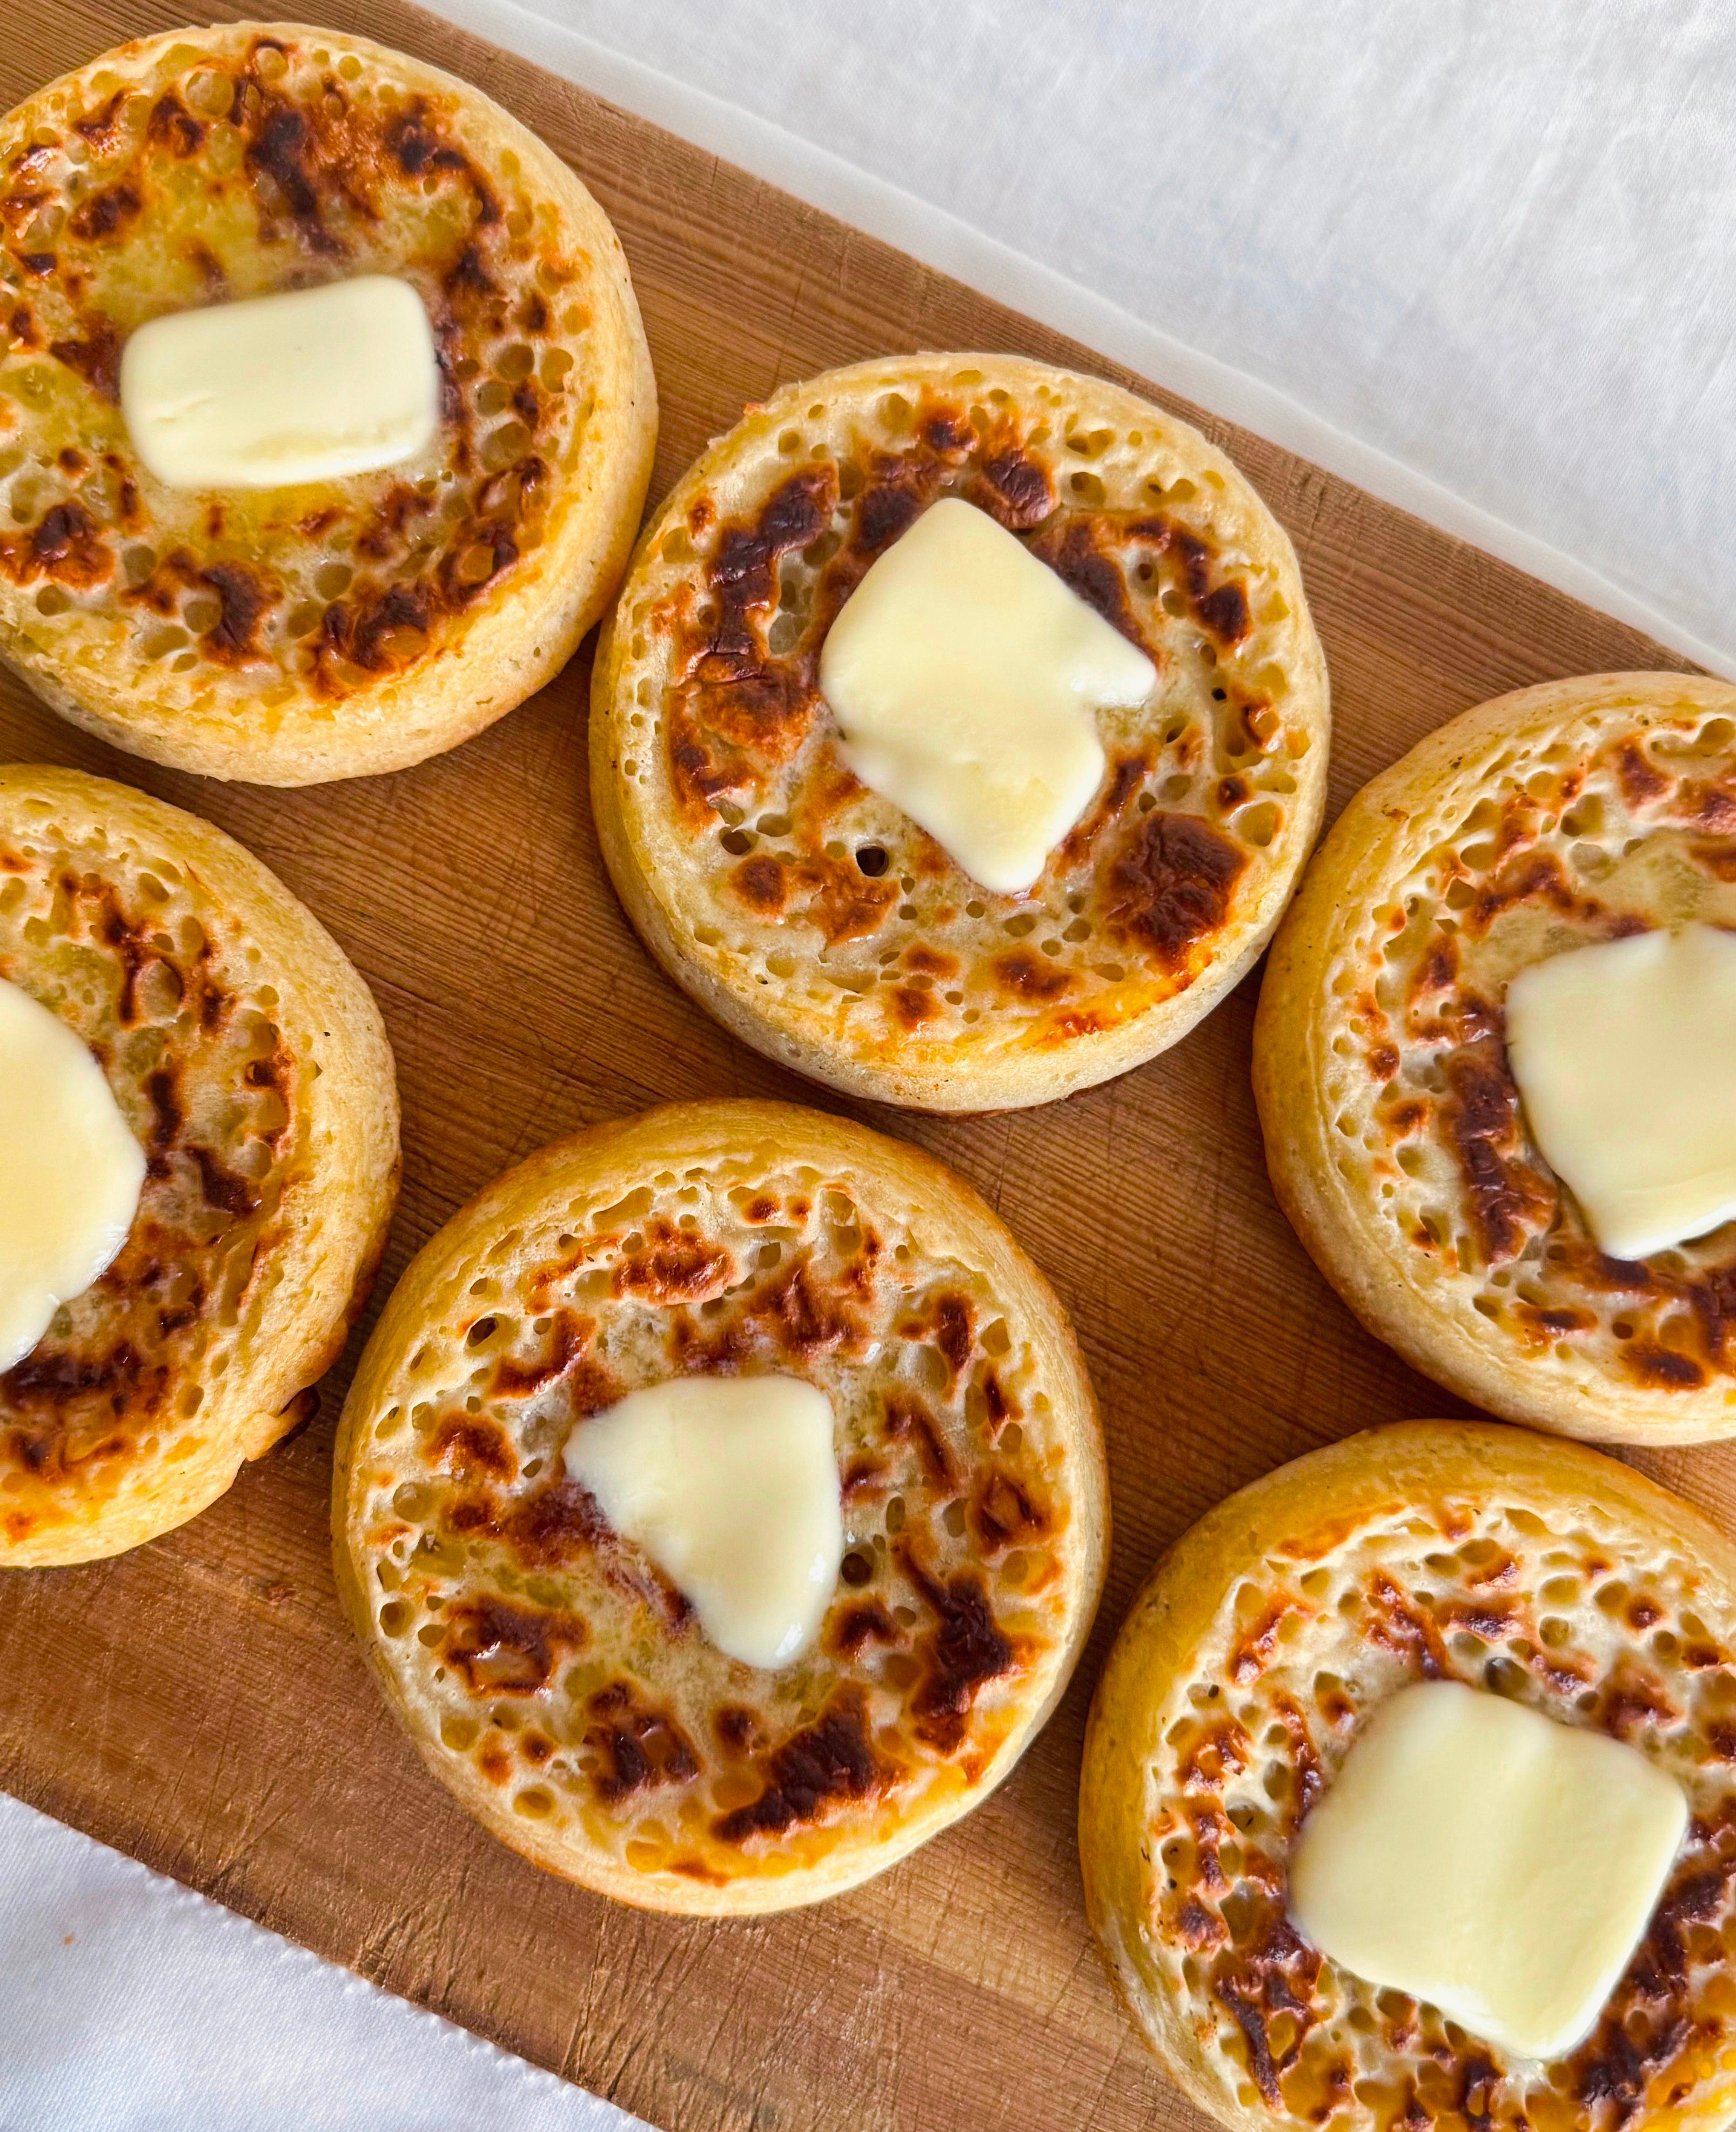
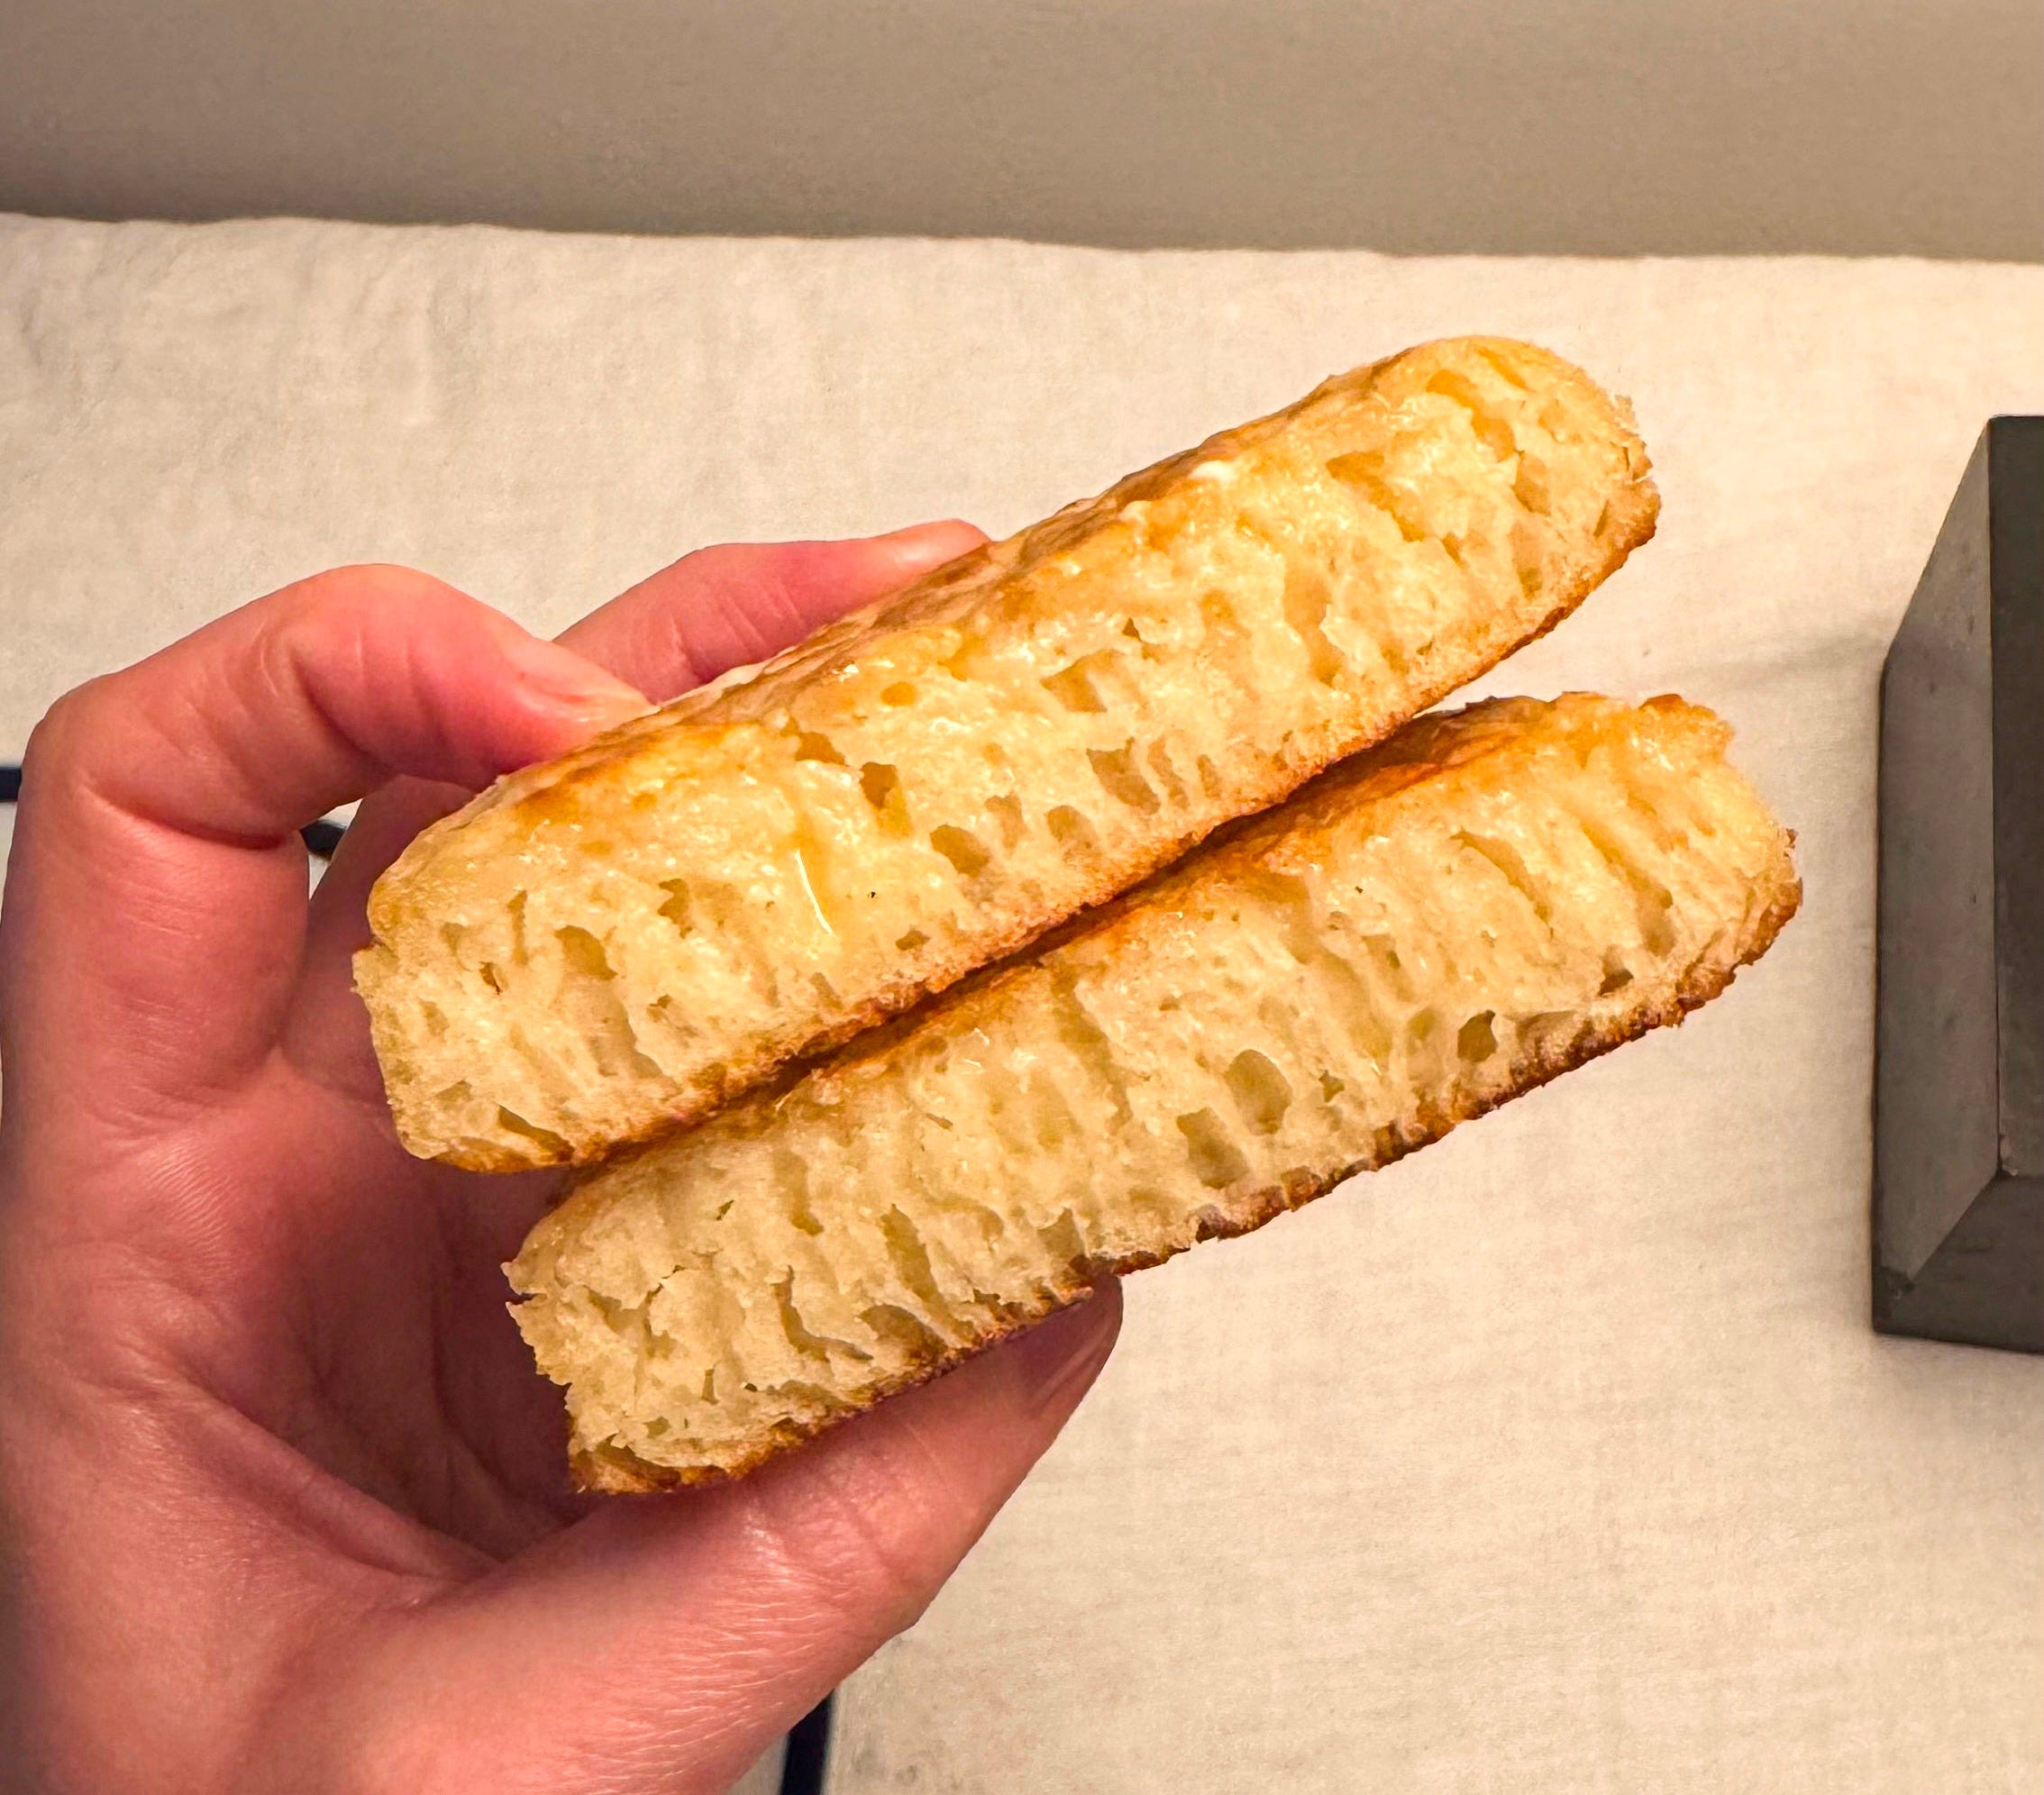
Crumpets, lord be praised, are spongey rounds of griddle-cooked batter that exist for the sole purpose of containing melted butter. Inside, they are a honeycomb of columnular holes, through which butter - swirled with honey, jam, marmite, or your chosen addition - melts and pools above the toaster-crisp bottom. The sponginess is unmatched, a texture I can only compare to the rubbery, but in a good way, injera. The contrast between the fluffy center and the crisp edge is sublime, and the delicate snap of the toasted top against your teeth is reason enough to leave your bed in the morning.
Food professionals will turn themselves inside out trying to convince you that homemade crumpets are superior to supermarket ones. My position is this: crumpets are a miracle on this earth, however they come to you, and their existence in your life so far outweighs their nonexistence. The ones you make yourself may or may not be better than supermarket ones, which, especially in the case of Warburtons, can be damn good. But what they certainly will do is enrich your life, bringing you the endless joy of watching bubbles bloom and pop in a hot pan. They will bring you closer to understanding how flour, yeast, and heat can combine in new and glorious ways, and most importantly, they will exist.
What are crumpets?
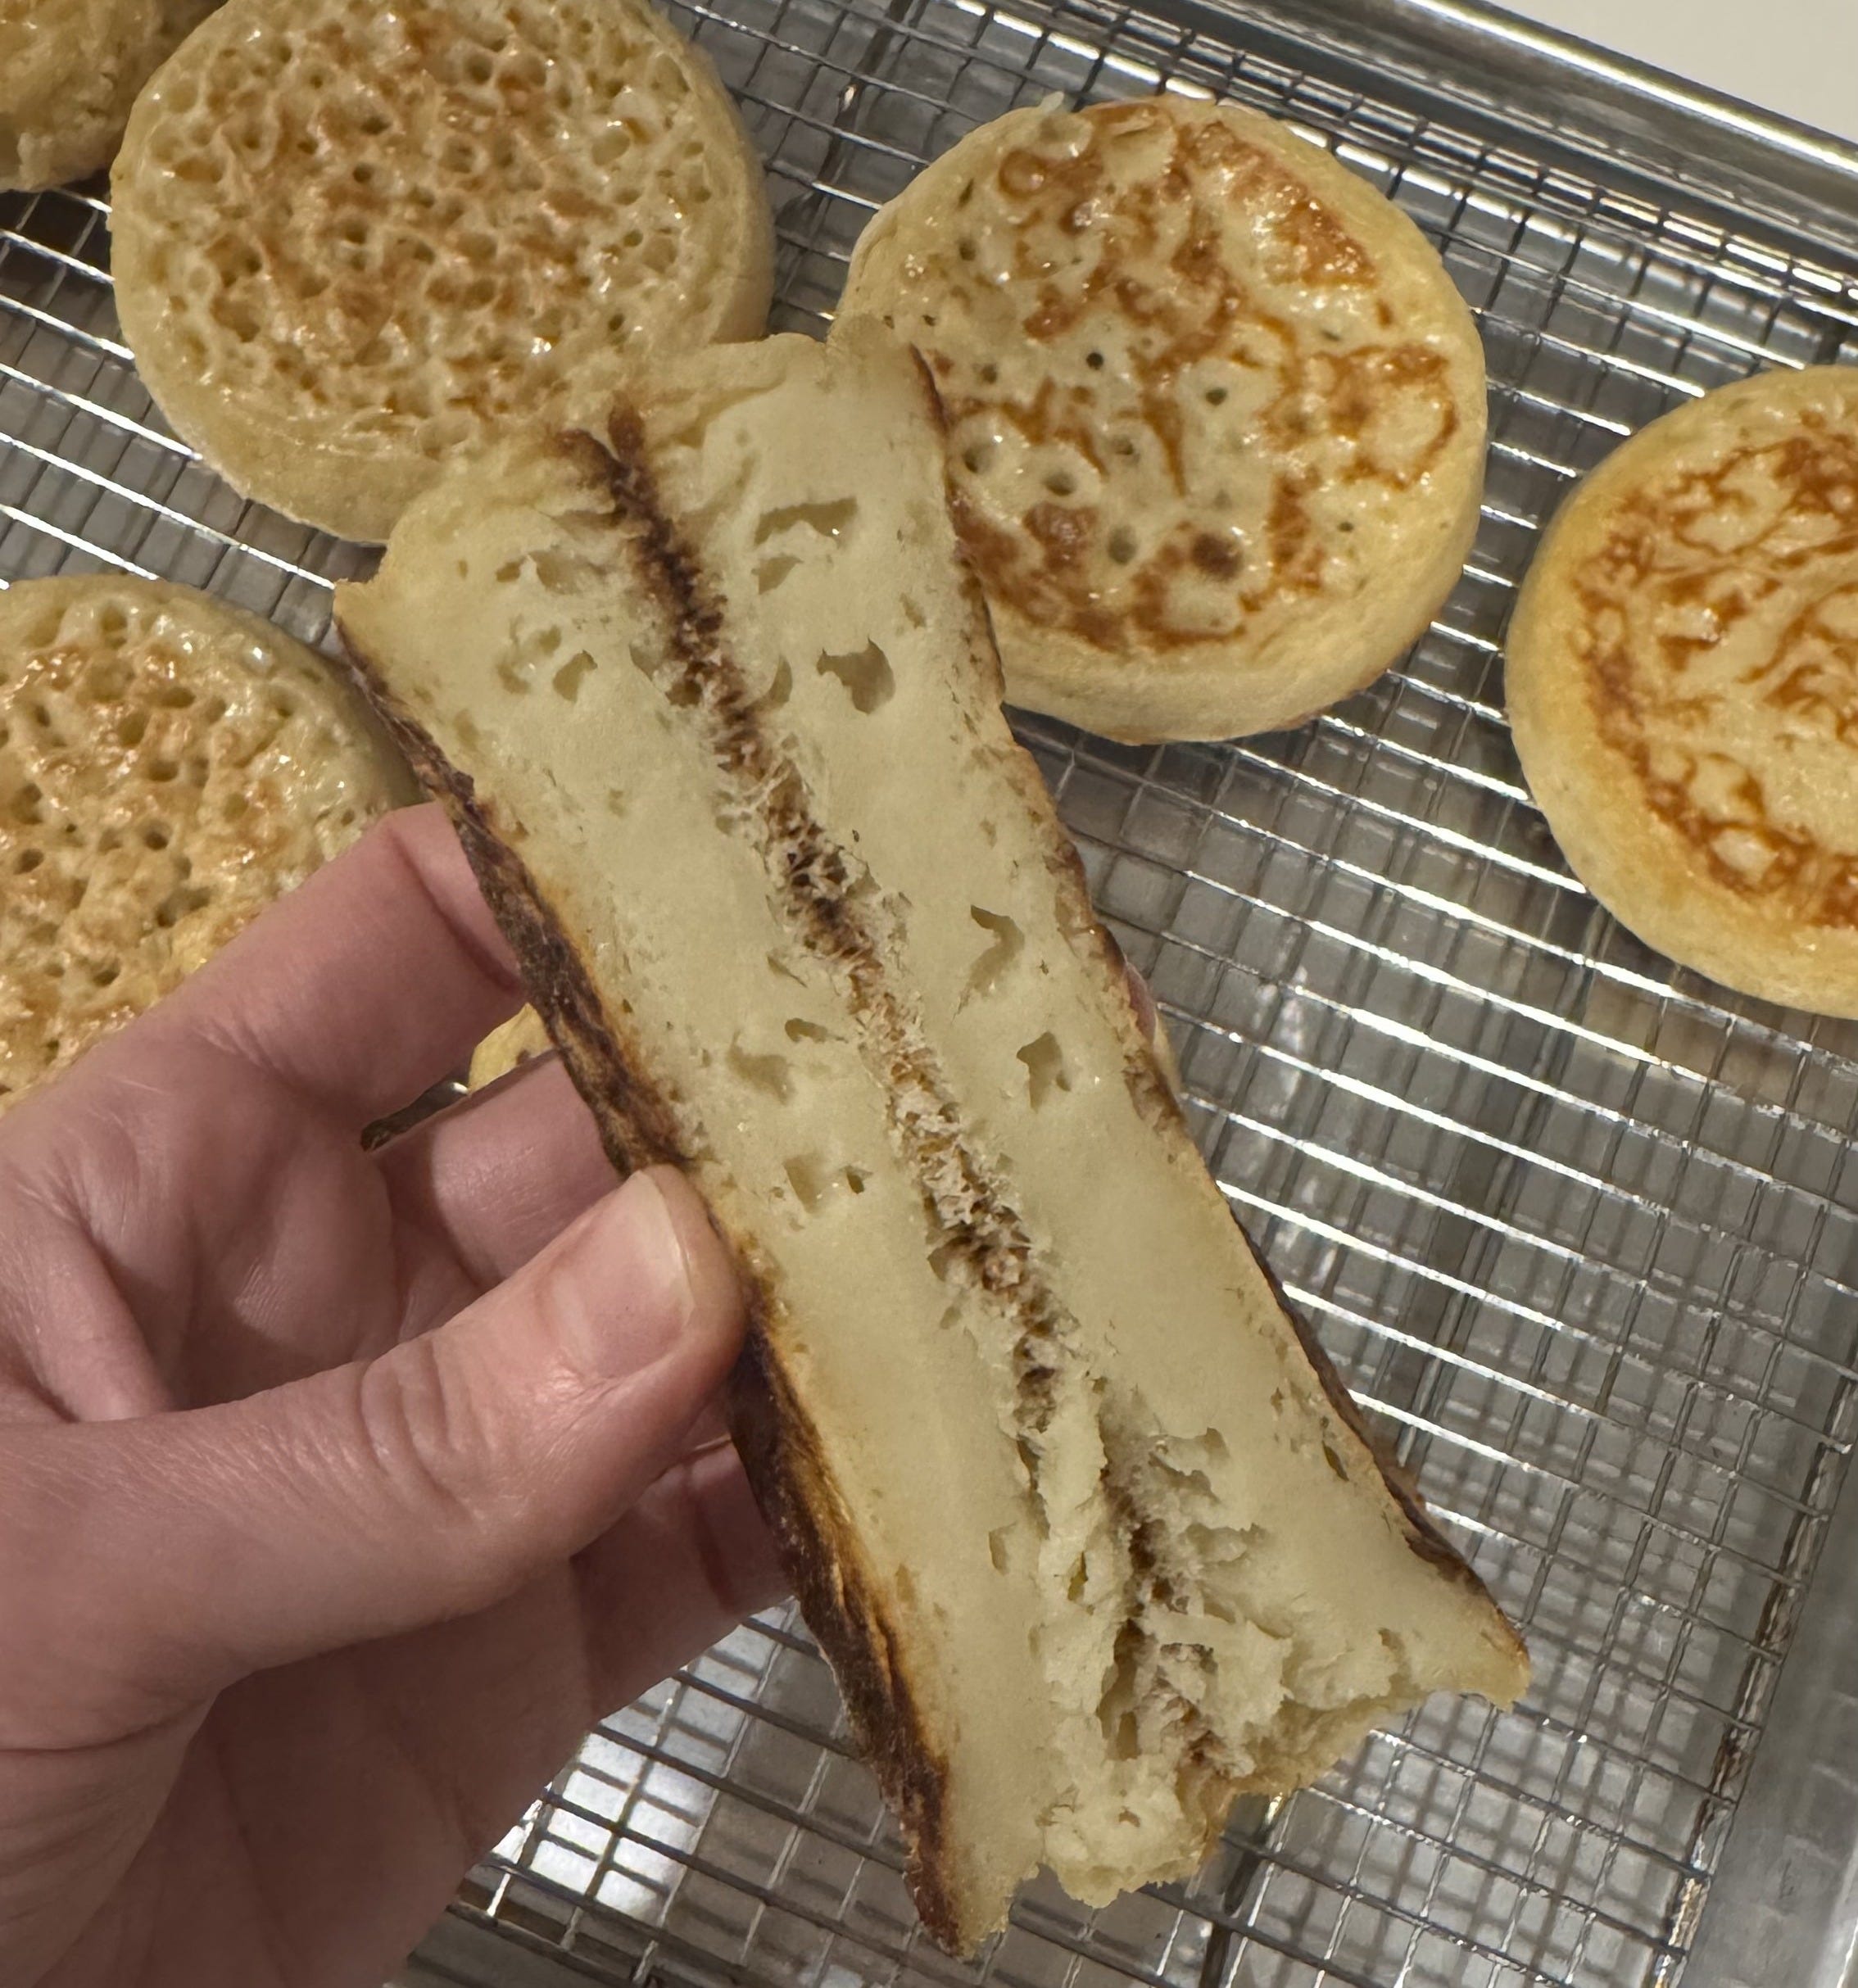
Crumpets belong to the pancake family, in that they are made from a simple flour and water (or milk) batter that gets cooked on a griddle as opposed to in an oven. What makes a crumpet a crumpet is the application of two different leaveners, yeast plus a chemical leavener like baking powder or soda. This creates big fat bubbles in two stages, first during a proofing period, and then again when they hit the hot pan. Crumpets are cooked from one side only, unlike crepes or American pancakes which get flipped and flopped. This allows bubbles to rise up in long straight lines, forming the columns that are so crucual to the crumpet’s true purpose on earth.

In America, crumpets are often miscast as English muffins due to their similar size, spongey texture, and characteristic quick-yeasted flavour. But the crucial difference is that English muffins contain far less water and are cooked on both sides, giving them a firmer and breadier texture with roles unbeknownst to the crumpet, like being made into a sandwich. Ultimately, an English muffin simply can’t handle the amount of butter a crumpet can. The US editors of early Harry Potter books mistakenly translated “crumpets” as “English muffins” to avoid mass confusion and let’s just say, a bit of magic died that day.


We eat crumpets as a snack any time of day, but they really shine first thing in the morning. Whenever you eat them, they must be 1) toasted and 2) aboslutely loaded with butter. Unlike most bready things, they are not best when fresh. A day's rest will only enhance their sponginess and let the structure set properly before toasting (another reason I stand behind the supermarket crumpie).
If the butter wasn’t enough, crumpets’ history is full of romance. Griddle-cooked, yeasted batters have been around forever, but the crumpet really came into being with the invention of chemical leaveners in the 19th century. In 1801 the German Valentin Rose isolated sodium bicarbonate, a weak base that, on interaction with an acid (e.g., buttermilk), releases carbon dioxide bubbles. In 1843, Alfred Bird, of Bird’s custard, made a massive leap forward for science and romance by advancing this into baking powder, a gift for his wife who was allergic to yeast and eggs. Baking powder combines a base and an acid in one powder, so all you need to add is water (and looooove!). The American Eben Norton Horsford developed a more shelf-stable version of baking powder a few years later, giving us the form we use today. Victorians immediately saw the potential to make their crumpets extra bubbly, and what we know as the crumpet was born.


Our crumpets
I avoided tackling crumpets for a long time because, like all simple things, they are rife with opportunities for disaster. My goal with this recipe was to make all those mistakes for you, bringing you something straightforward and foolproof. People say you have to develop a ‘knack’ for making crumpets over a lifetime, but I can’t stand excuses like that (as in the odious, “it’s all in the wrist”). Like all pancakes, the first one comes out a bit iffy, but beyond that I’ve found this recipe to be reliable damn near every time.


Crumpets live and die in the pan. All the cooking is done on one side, and it takes about 10 minutes for the crumpet to cook all the way through, by which time the bottoms are usually scorched beyond salvation. The solution many reach for is to flip while the upper dough is still partially raw, but alas, that only seals up the crumpet’s raisins d’etre: the butter entry points. The cheekiest, but not ineffective, method I found was from America’s Test Kitchen, where excess raw batter is wiped off the top! After many tests (covering, grilling) the best solution was simplest one: initial high heat to set the bubbles off, followed by low heat for the long cook through.
Choice of pan matters here. When I first made crumpets I used this nifty grill setup on my stove, feeling very bonnie cottage about myself, but adjusting the heat on a slab of iron like this is like turning around a cruise ship. In short, I don’t recommend a cast iron pan. A simple steel or aluminium sautée pan was much nimbler, and easier to clean!


Second to cooking strategy is the batter recipe. It seems at first like there are endless options (water vs. milk, baking powder vs. baking soda, quick rise vs. long), but after I researching dozens of recipes for the batter I realized they all fell into two main camps: water and baking powder (the Warburton’s way), or milk and baking soda (the Elizabeth David way). The batter is more liquid that flour (close to 133%) making it quite runny but just thick enough to be contained by crumpet rings. I did come across a few alarming recipes, that only had about 50% water - do not trust these!
After copious testing, my clear favourite was the Warburton’s way: water + baking powder. Elizabeth David’s recipe has a lovely touch of tradition, and I’m always partial to using a richer ingredient over a stingy one like water, but with crumpets, you needn’t fear. The fatless recipes tasted much better slathered in butter, whereas those made with milk felt heavy.
Most importantly, I got bigger and better bubbles from baking powder, which starts working as soon as you make the batter and kicks in again when you apply heat (the “double action”). Since baking soda only works once, it needs to be added about 30 minutes before cooking, giving it just enough time to generate bubbles but not so much that they collapse. I found the extra step added more than it’s fair share of complication: managing two different timers is simply too much to ask.
I made a few simple adjustments to the Warburton’s recipe (generously shared with the public during Covid), increasing the salt and sugar by 50% for some added flavour, as I found them a little underseasoned. I liked Andrea Geary’s suggestion of replacing a portion of the all-purpose flour with cake flour, which can help the crumpets cook faster, but this recipe works just as well without it.
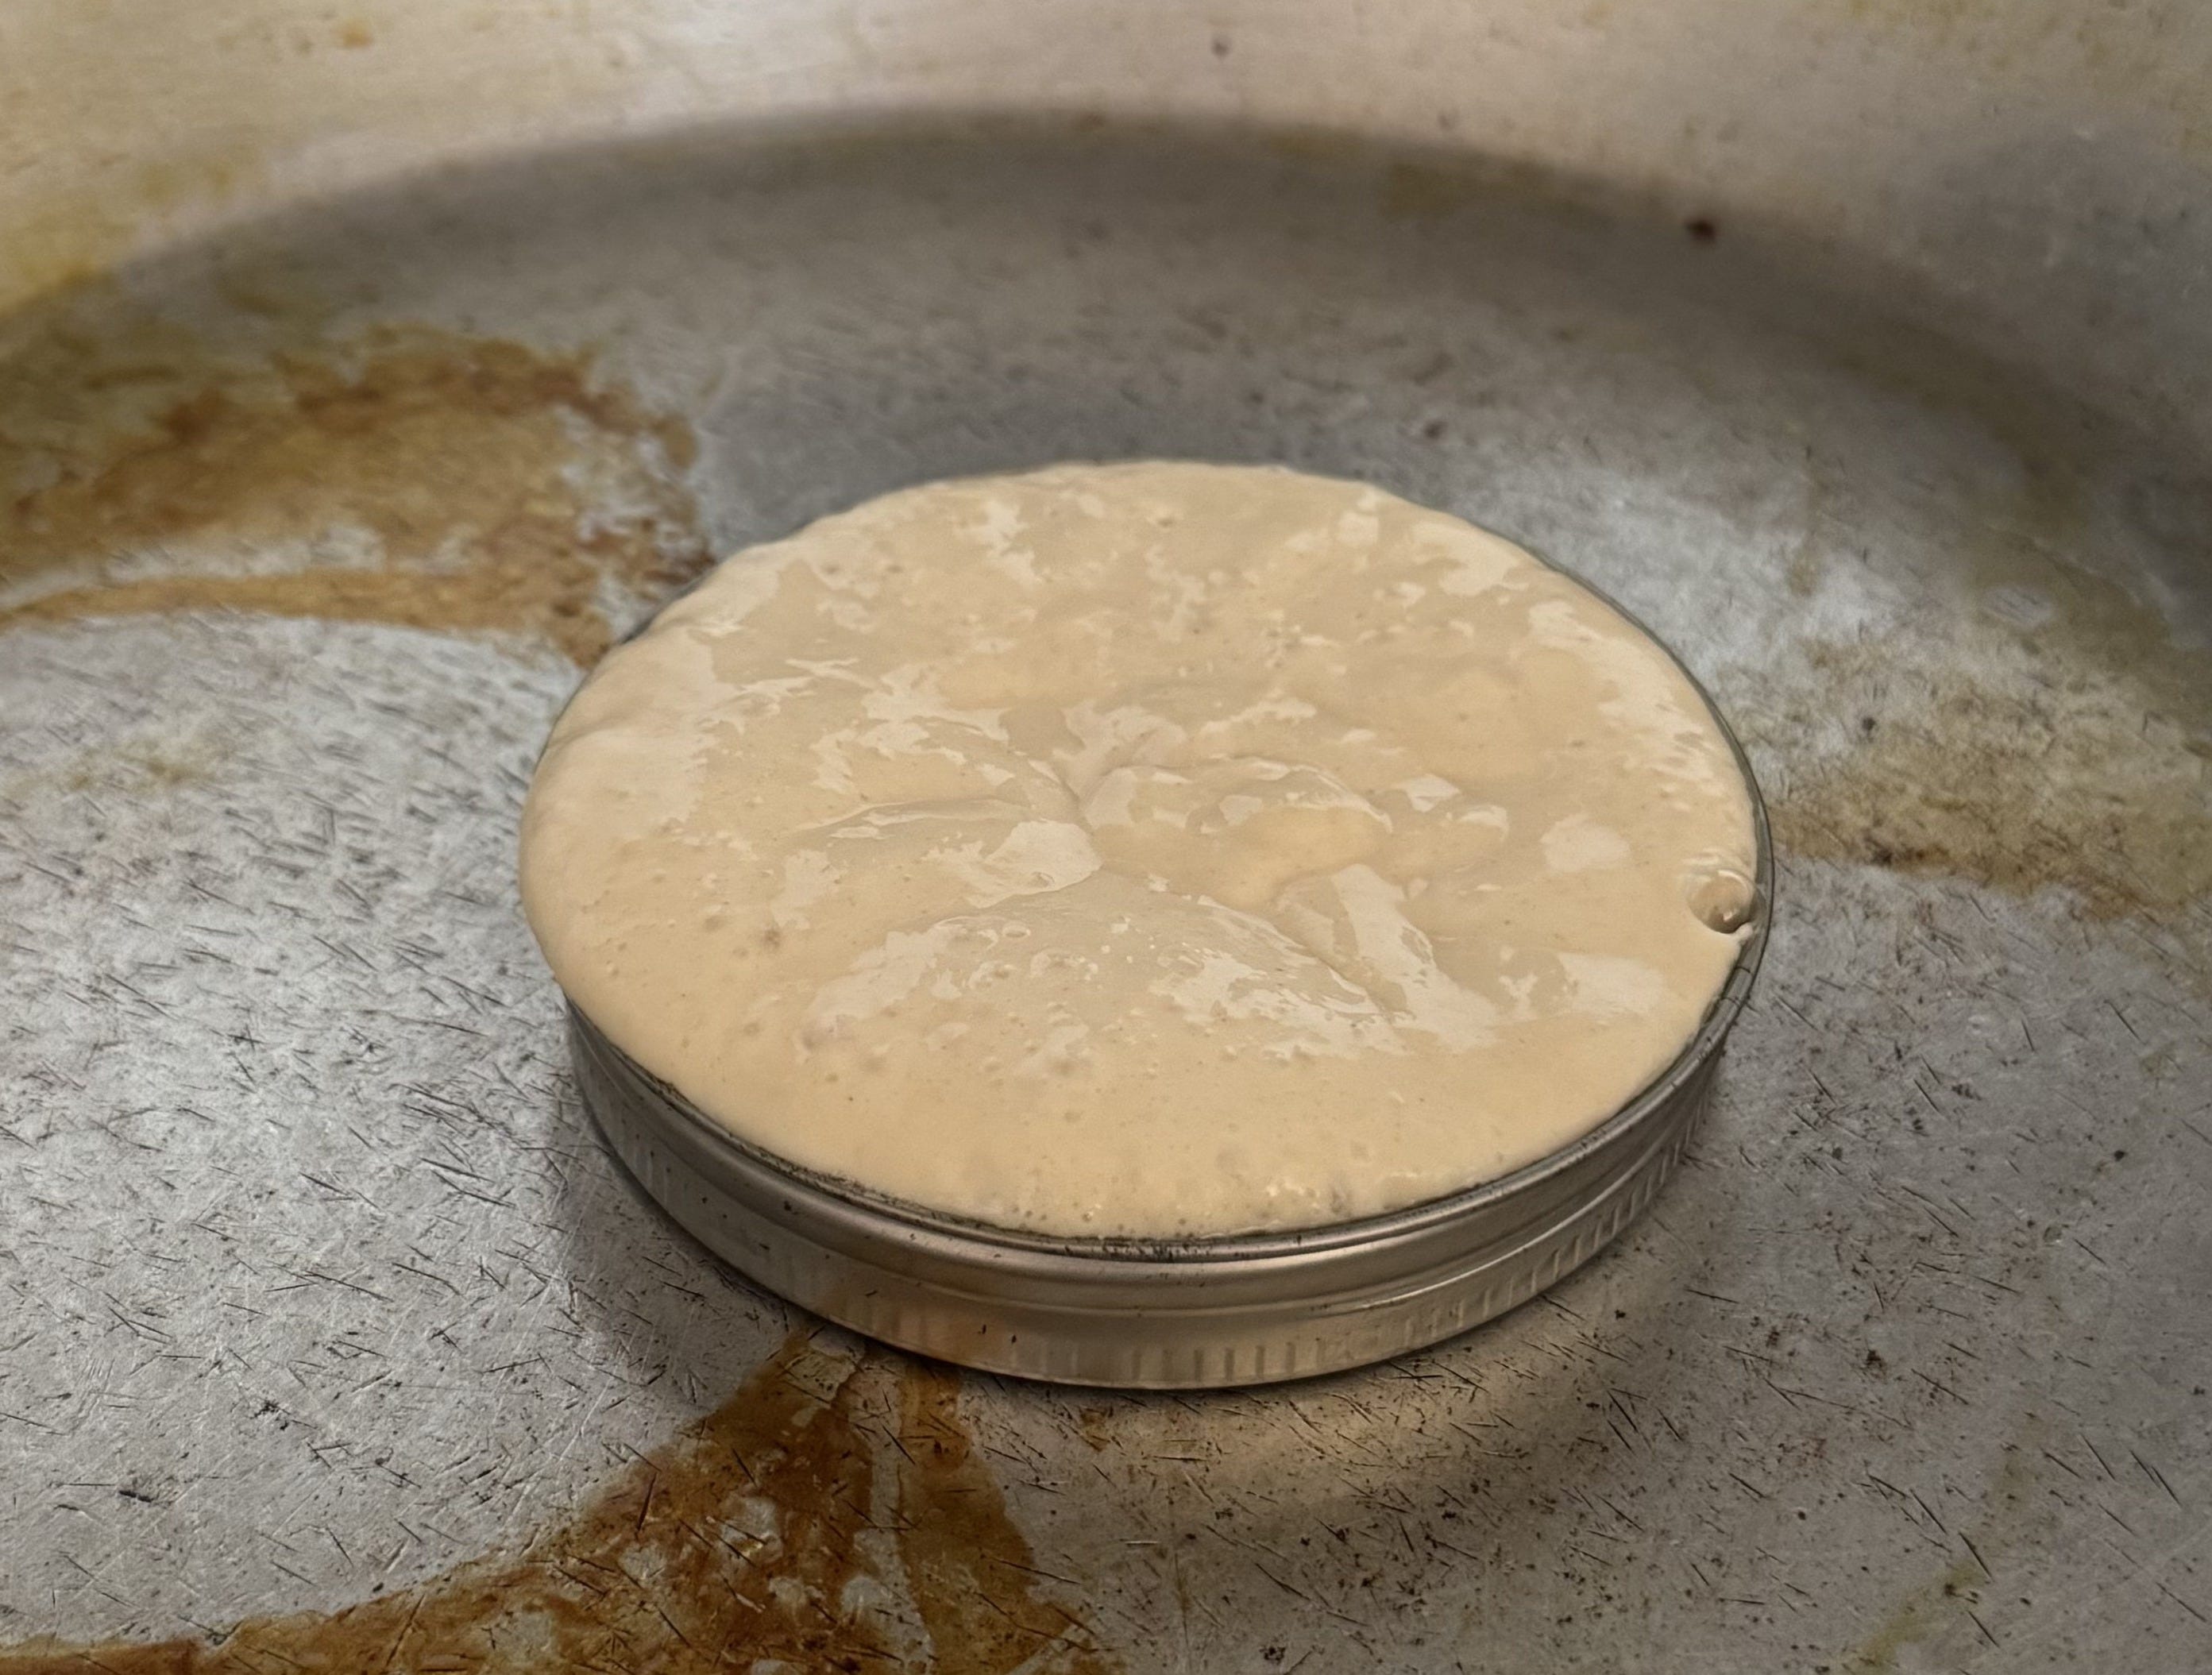
You’ll need some metal rings to get the crumpets nice and round. If you don’t have any, the rings around canning jar tops work perfectly, or some people like a tuna can with both top and bottom removed. In a pinch, you can always make crumpets freeform without any moulds (a.k.a. pikelets!).
All in all, these take about two hours from start to finish, with mostly inactive time. Not quite a whizz-bang, but just about perfect for a lazy Saturday morning.
The recipe
Makes eight 4” crumpets or twelve 3” ones. Two hours total, 1 hour active time. Requires a sautée pan and as many crumpet rings as will fit in your pan (I managed three).
Ingredients
300g (2 generous cups) all-purpose flour (or, replace about 1/4 cup with cake flour)
400ml (1 2/3 cups) warm water (100-115F, or lukewarm to the touch)
2 tsp dried yeast
2 tsp baking powder
1 1/2 tsp kosher salt (1 tsp sea salt)
2 tsp sugar
Neutral oil for the pan
LOTS OF SALTED BUTTER for serving
Method
Make the batter. If you are concerned your yeast might be old, test it before starting by mixing it with 50ml of the warm water and 1 tsp of sugar. If it foams up, it’s good to use. If not, toss it and get some fresh stuff. Mix all the ingredients together in a bowl and whisk for 6 full minutes by hand, or 3 by electric whisk. This develops enough gluten to give the crumpets their characateristic chewiness. Cover and let rise in a warm place for 45 minutes, or until it’s puffed a bit and looks very bubbly!
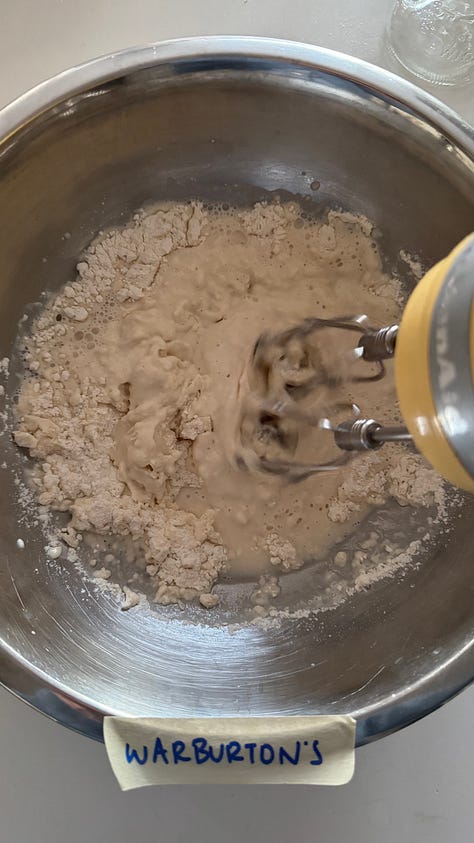
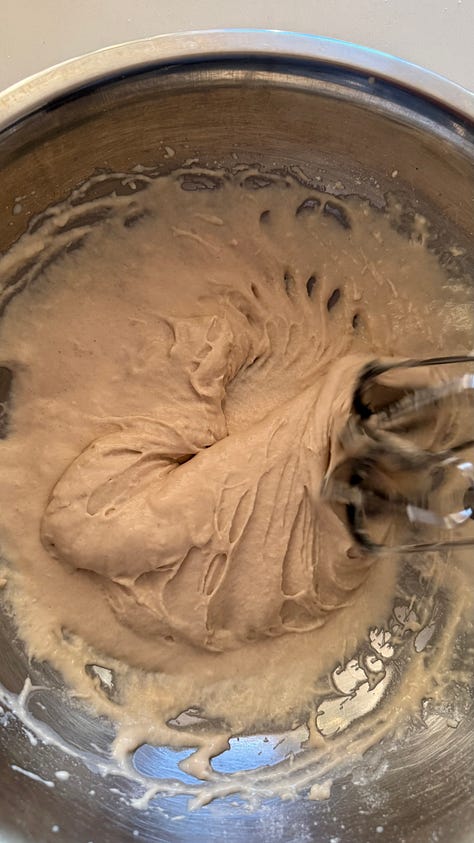
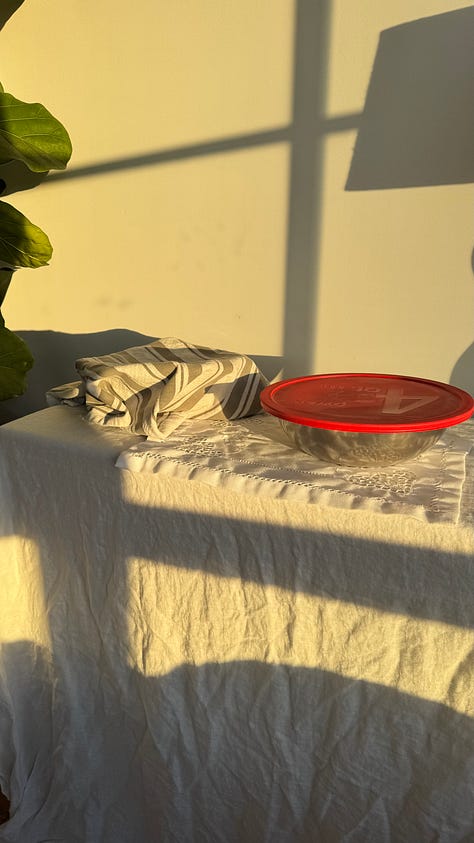
Mix the batter for a good 3-4 minutes with an electric whisk to develop gluten. Rather liked this picture of the sun on my testers as they proofed. Prepare your pan and rings. Set your pan over medium heat and add just a touch of oil. Swirl it around, then wipe off the excess with a paper tower or clean tea towel. Prep the rings by spraying them with cooking spray (most effective), brushing them lightly with oil, or greasing them with butter (I found coating them in melted butter to be completely useless!)
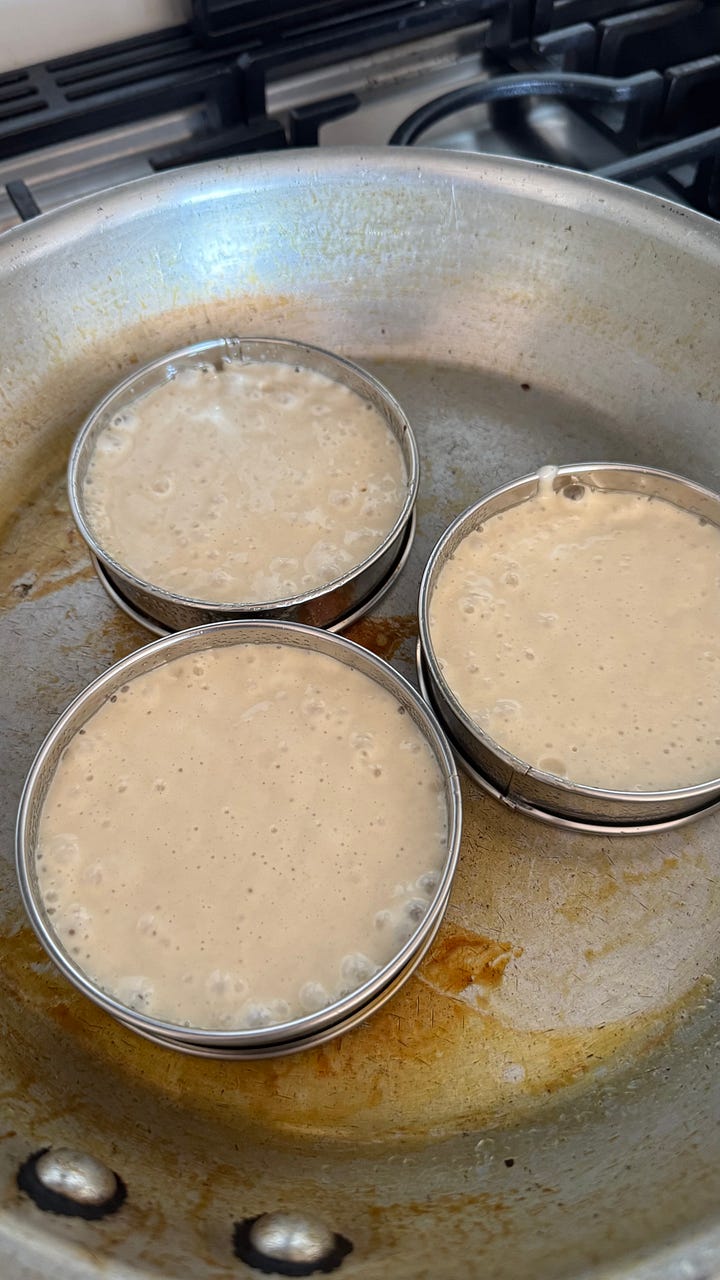
The cook. Turn up the pan to high heat and let it heat up for about a minute. Place your rings in the pan (I like to start by cooking just one crumpet on the first round, to minimize the ‘first pancake’ wastage). Gently pour the batter halfway up the rings, about 1/2 inch or 1 cm high. The batter will have formed lots of bubbles on top: try to keep as many of these as possible! Let the crumpets cook on high heat for 1 minute then medium for 2 minutes, then turn the heat all the way down to medium low, or low, if your stove is feisty and continue cooking until the tops are full of holes and no wet batter remains, about 8-10 minutes (it is so tempting to flip them early but resistance is critical!). Remove the rings with tongs (careful, they are hot!), and flip the crumpets over for an additional 1-2 minutes to get a nice toasting on the top. Remember, the bigger fear here is underbaking, rather than overbaking! Remove from the pan and place on a cooling rack. Re-oil the pan between each round of frying, remove any nublets of batter from the rings, and re-grease them.
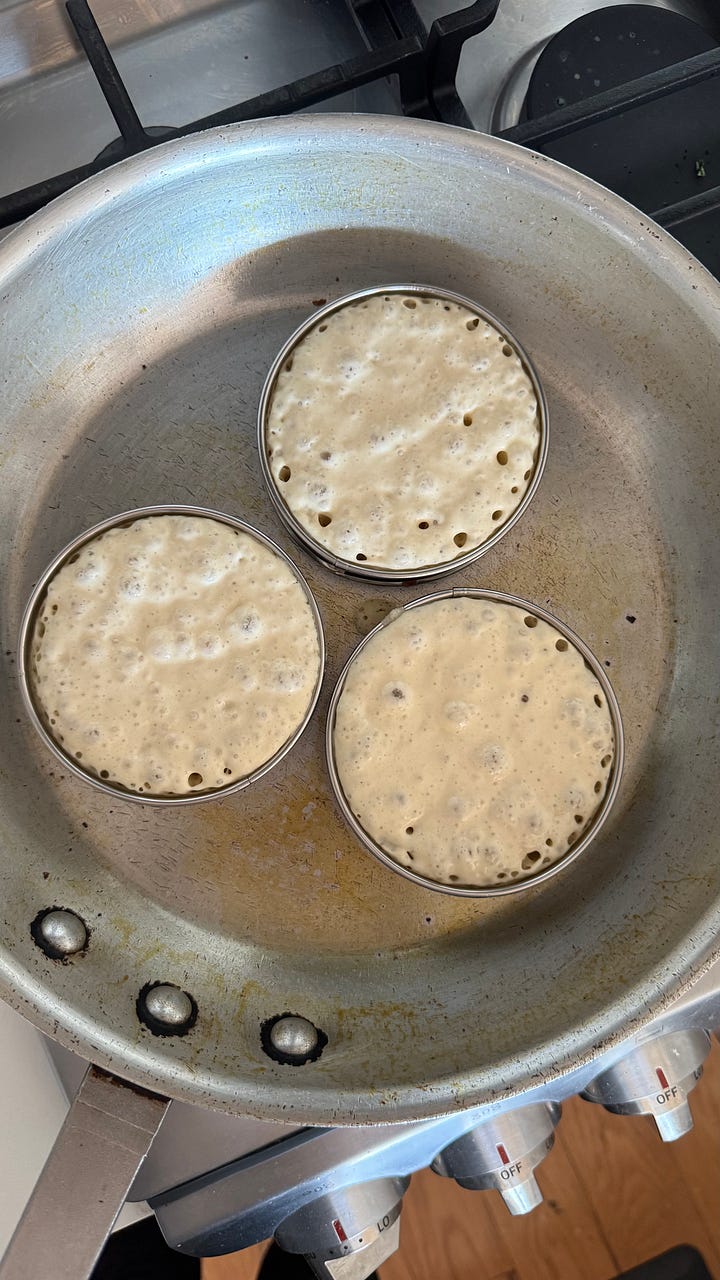
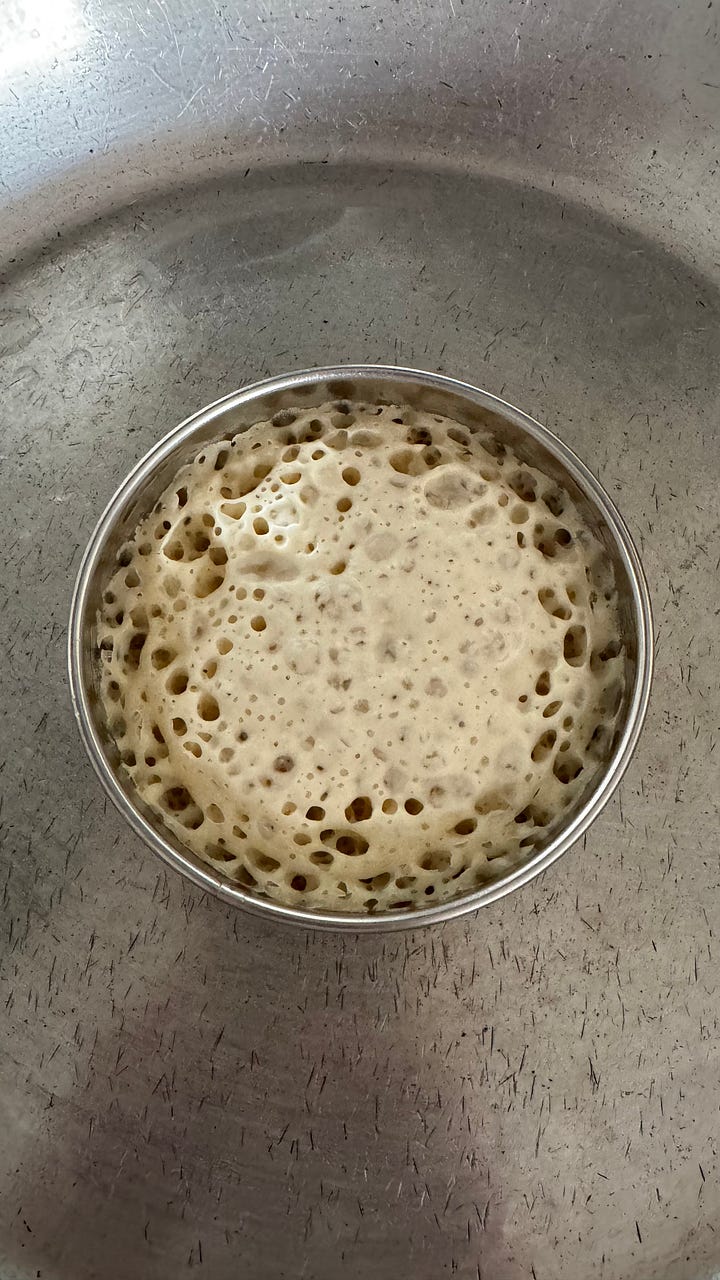
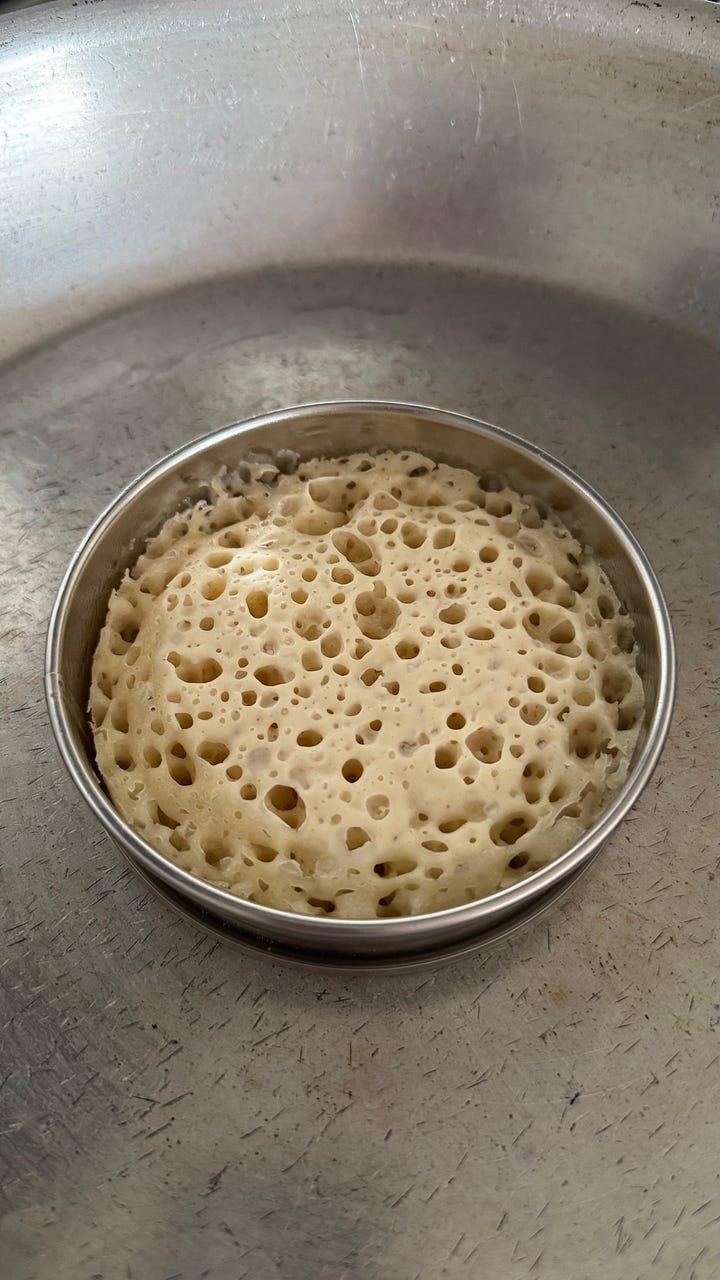
Crumpet cooking in action. You'll be tempted to flip by the third picture but hold fast! You need to reach stage four before flipping. Serve them up! Let crumpets cool completely. Toast them on both sides until crisp, then slather with salted butter until even Guy Fieri would be concerned. Add honey, jam, or marmite to your liking, but definitely try one with just butter first.


Crumpets keep for 2-3 days in an airtight container, or 3-4 days well wrapped in the fridge. Store them for 2-3 months well-wrapped in the freezer.
Sources
Warburtons, “Keep Calm and Crumpet On”
Jane Grigson, English Food, “Elizabeth David’s Crumpets,” Penguin Books. 1974.
The MIT Press Reader, “A Colourful History of Baking Powder and Its Unlikely Inventor”
Smithsonian Magazine, “The Great Uprising: How a Powder Revolutionized Baking”
Thank you lilli - with some maple syrup for the northerners or blueberry jam.